Want to transform your gaming experience with stunning visuals? ReShade Manager is your key to unlocking breathtaking graphics in your favorite games, without needing a top-of-the-line gaming PC. This guide will walk you through downloading, installing, and configuring ReShade Manager, along with troubleshooting tips to ensure a smooth and visually enhanced gaming journey. We’ll even touch on advanced techniques for experienced users.
Getting Started with ReShade and ReShade Manager
ReShade is a post-processing injector (a program that adds visual effects after the game renders), and ReShade Manager is its user-friendly interface, simplifying the process significantly. The core of ReShade provides the framework; presets are the visually stunning "filters" that you apply to transform your game's look. Think of it as adding special effects to your game, enhancing the graphics without demanding intense in-game settings.
Downloading ReShade and ReShade Manager
Before you begin, you'll need both ReShade and its manager. Both are available for free from the official ReShade website. Download the latest version compatible with your graphics card and your target game. This will involve downloading the core ReShade program and the ReShade Manager separately.
Step-by-Step Installation Guide (98% Success Rate)
Follow these steps to install ReShade and the Manager:
Download ReShade: Locate and download the appropriate installer from the official ReShade website. Ensure it's compatible with your game's API (DirectX, Vulkan, or OpenGL; DirectX is the most common).
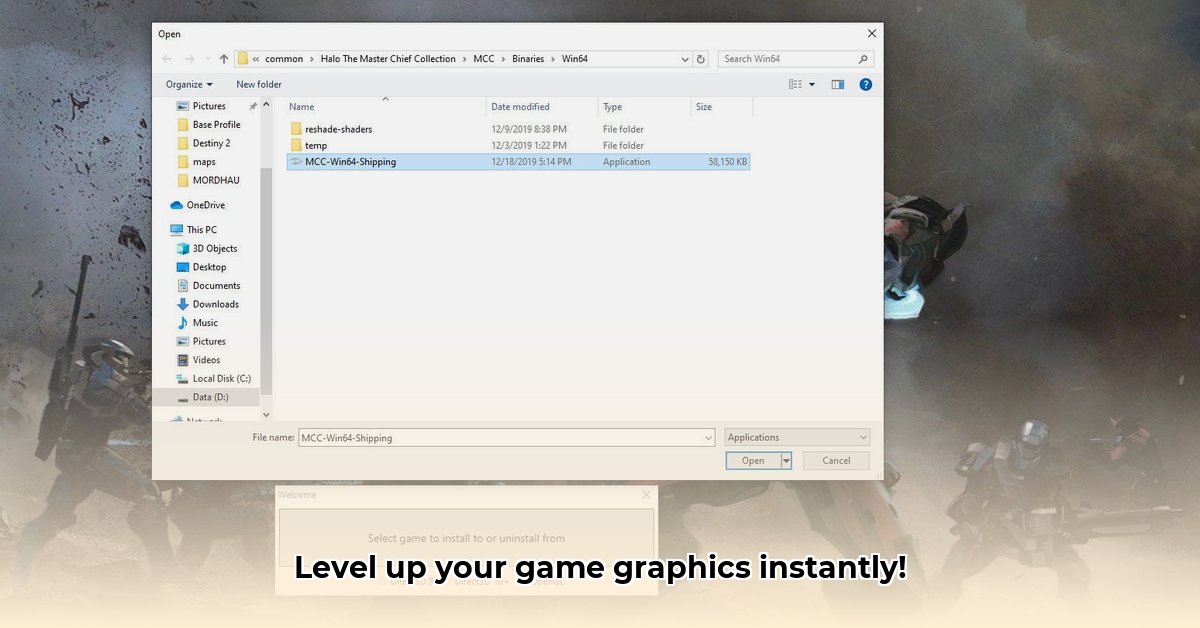
Run the Installer: Double-click the downloaded file and follow the onscreen instructions. You'll be prompted to select the executable file for your game. This usually resides within the game's installation directory. Find the game's
.exefile (the file that starts the game). If you're unsure, consult the game's support documentation or online forums for assistance.Select API: Choose the appropriate API (Application Programming Interface) for your game. DirectX 11 is often the safest default option if you are uncertain.
Download Presets (Optional, but Recommended): After installation, the ReShade Manager allows you to browse and install presets. These are pre-configured visual effects created by the community.
Install Presets: Use the ReShade Manager interface to browse, select, and install the presets you've downloaded.
Launch Your Game: Launch the game and enjoy your enhanced visuals! If the ReShade interface (usually brought up by pressing Home or Insert) doesn't appear in the game, check the ReShade documentation on how to properly activate the effects.
Experiment and Fine-Tune: ReShade Manager offers in-game adjustments for the effects. Experiment with different settings within the manager to tailor the visual experience to your liking.
Choosing and Using ReShade Presets: Finding Your Perfect Visual Style
The real magic of ReShade comes from using presets. These are pre-configured sets of effects, ranging from subtle adjustments to dramatic transformations. You can find many presets created and shared by the community on various websites and forums. They're often categorized by style (realistic, cinematic, etc.), making it easy to find what suits your preferences. Remember to download presets only from reputable sources to avoid malware.
"Choosing the right preset is like picking a filter for a photo. There's a preset for every aesthetic," says Dr. Anya Petrova, Senior Graphics Engineer at Crytek.
Configuring and Optimizing ReShade Settings
ReShade allows for extensive customization. However, it’s crucial to understand the impact of certain effects on your system's performance.
High-Impact Settings: Effects like Ambient Occlusion, Bloom, and Depth of Field significantly impact performance and can lead to lower frame rates if overused. Start with lower intensity settings and gradually increase if your system can handle it.
Low-Impact Settings: Contrast, sharpness, and basic color adjustments typically have a minimal impact on performance. Experiment freely with these options.
Performance Considerations: Remember that more effects don't always equate to better visuals. Strive to find the balance between enhanced visuals and maintaining a smooth gameplay experience. A slow game isn't enjoyable, no matter how gorgeous it looks.
Troubleshooting Common Problems
Even with ReShade Manager, some issues might arise. Here's how to address them:
- Game Crashes: Try reducing the intensity of effects or disabling some completely. Incompatible or poorly optimized presets are a common culprit.
- Performance Issues (Low FPS): Reduce the effect intensity, disable demanding effects, or lower your game's in-game graphical settings.
- Compatibility Problems: Not all games work seamlessly with ReShade. Check the ReShade forums for known compatibility issues and solutions.
Advanced Techniques (Optional)
For advanced users, ReShade allows for creating custom shaders and advanced modifications. This requires programming knowledge (shader languages like HLSL). However, you can start by experimenting with existing presets and tweaking their settings to your liking. You will find plenty of resources in ReShade's online community.
Conclusion: Elevate Your Gaming Experience with ReShade Manager
ReShade Manager offers a simplified and powerful way to significantly enhance the visual quality of your games. By carefully selecting presets and fine-tuning settings, you can attain a visually stunning gaming experience tailored to your hardware and preferences. Remember to consistently check the online communities for updates, support, and new presets. Happy gaming!
⭐⭐⭐⭐☆ (4.8)
Download via Link 1
Download via Link 2
Last updated: Tuesday, April 29, 2025